Phone: 585-382-9580
Gravel Shed Bases, What Works, What Fails, and How to Do It Right
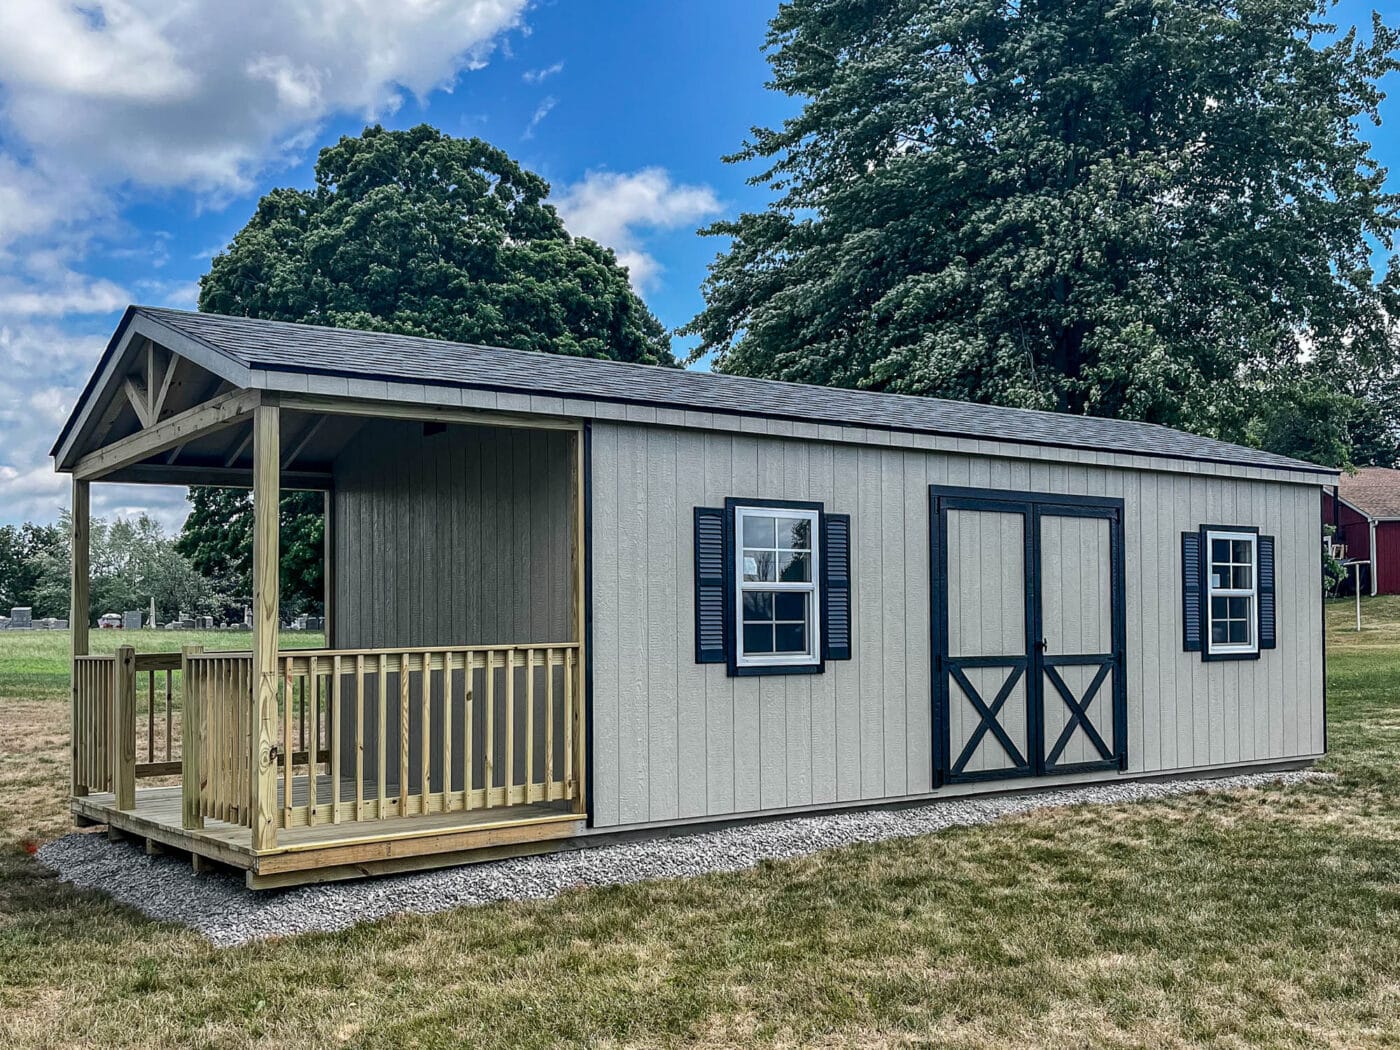
Getting a shed should be exciting! Whether your shed will be used for storage, a garage workshop, or a backyard retreat, it needs a strong foundation. And when it comes to shed bases, gravel is a popular choice for many reasons. However, not all gravel shed bases are the same. If you cut corners or skip crucial steps, you could end up with an uneven shed, drainage issues, or structural damage over time. We’ve seen the heartache that comes with improperly prepared shed bases and hope this page will provide valuable information you can use to ensure your shed will last for many years to come!
We recommend hiring a professional contractor to install your shed base. However, if you decide to make it a DIY project, here are a few tips to help you prepare your site.
What are the benefits of a proper Gravel Shed Base?
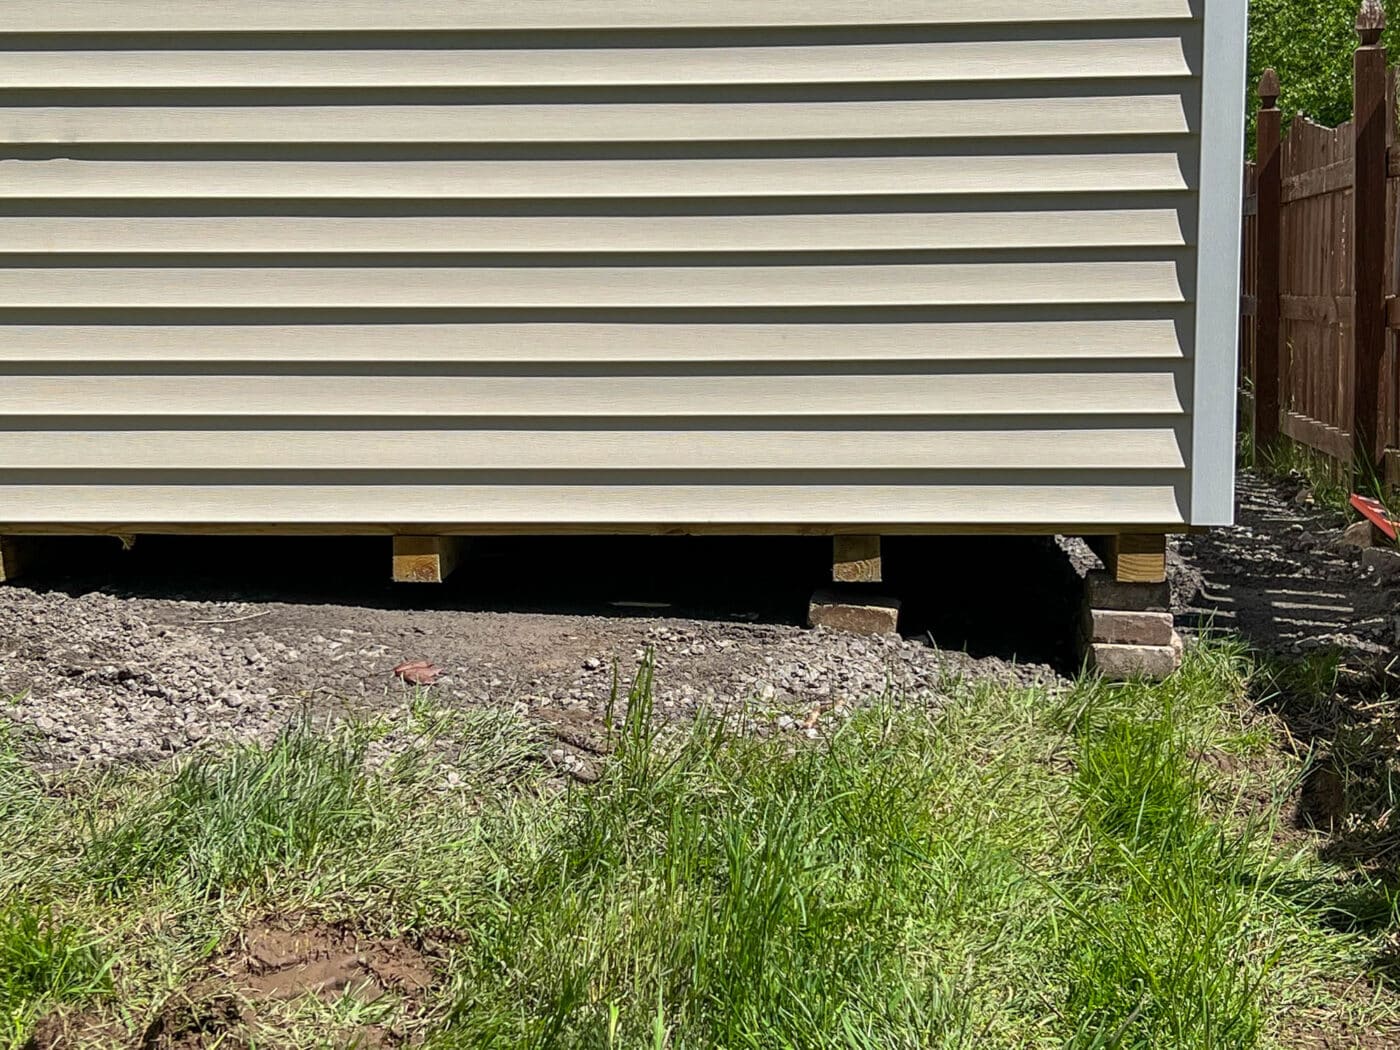
Drainage, Drainage, Drainage – A gravel base allows rainwater to drain away from your shed rather than pooling around it. This helps prevent rot, mold, and other moisture-related problems.
Even Weight Distribution – A properly compacted gravel base supports the weight of your shed evenly, reducing the risk of shifting or sinking over time.
Prevents Premature Wear – Without a good base, your shed is more susceptible to warping, uneven doors, and structural stress.
Extended Lifespan and Rot Prevention – A gravel base prevents the 4×4 skids under the shed from sinking into the dirt, protecting the bottom edge from rot and moisture damage. This helps maximize your shed’s lifespan and reduces the need for repairs over time.
What Should I Avoid When Preparing a Gravel Shed Base?
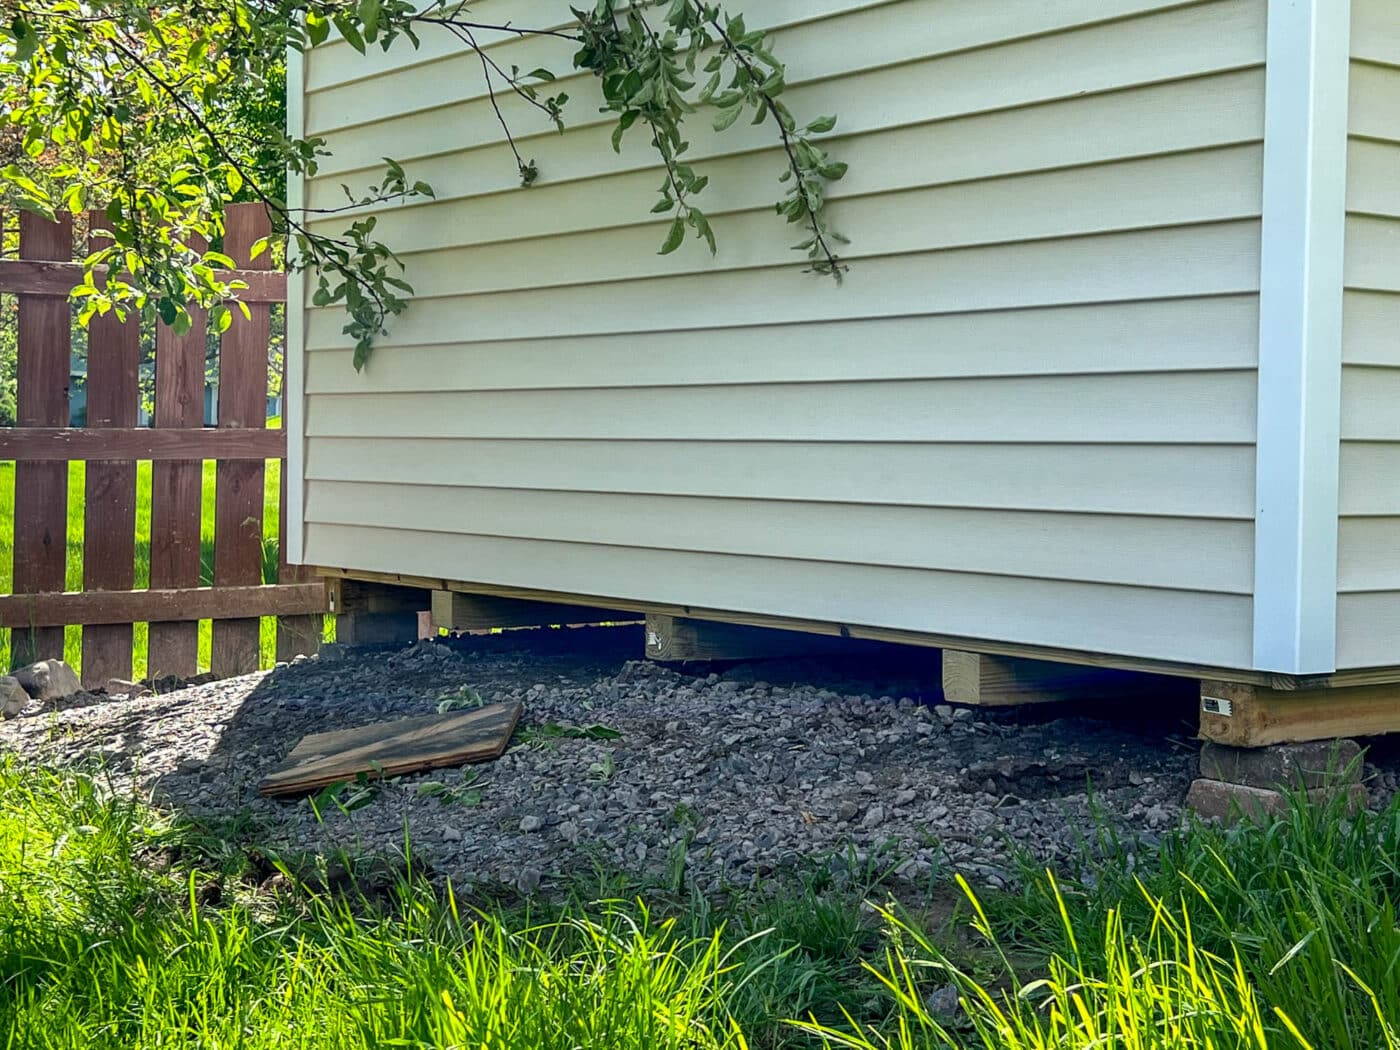
Now that we know why it matters, let’s go over some common mistakes people make when preparing a gravel shed base, and how you can avoid them.
Skipping Site Preparation – Don’t just dump gravel on the ground and call it a day. The area should be cleared of grass, roots, and debris before adding any material.
Not Digging Deep Enough – A proper gravel shed base requires excavation. Aim for at least 4 to 6 inches of depth, with an additional 2-4 inches if you expect heavy loads.
Using the Wrong Type of Gravel – Not all gravel is equal. Use a combination of crushed stone (like ¾” minus or crusher run) that compacts well, rather than pea gravel, which shifts too easily. Avoid washed or clean stone.
Skipping a Perimeter Barrier – Without a proper border (like pressure-treated lumber or paver edging), gravel can spread over time, making your foundation less effective.
Neglecting Proper Compaction – Just dumping gravel isn’t enough—it needs to be compacted layer by layer. Otherwise, your shed may settle unevenly.
Ignoring the Slope of Your Yard – If your yard isn’t level, you may need additional excavation or gravel to create an even surface.
Level is Critical – A perfectly flat pad ensures that the 4×4 skids are fully supported across the entire shed, not just at certain points. This prevents unnecessary strain caused by the shed adjusting to an uneven base.
Ready for a Shed That’s Built to Last?
How to Correctly Prepare a Gravel Shed Base
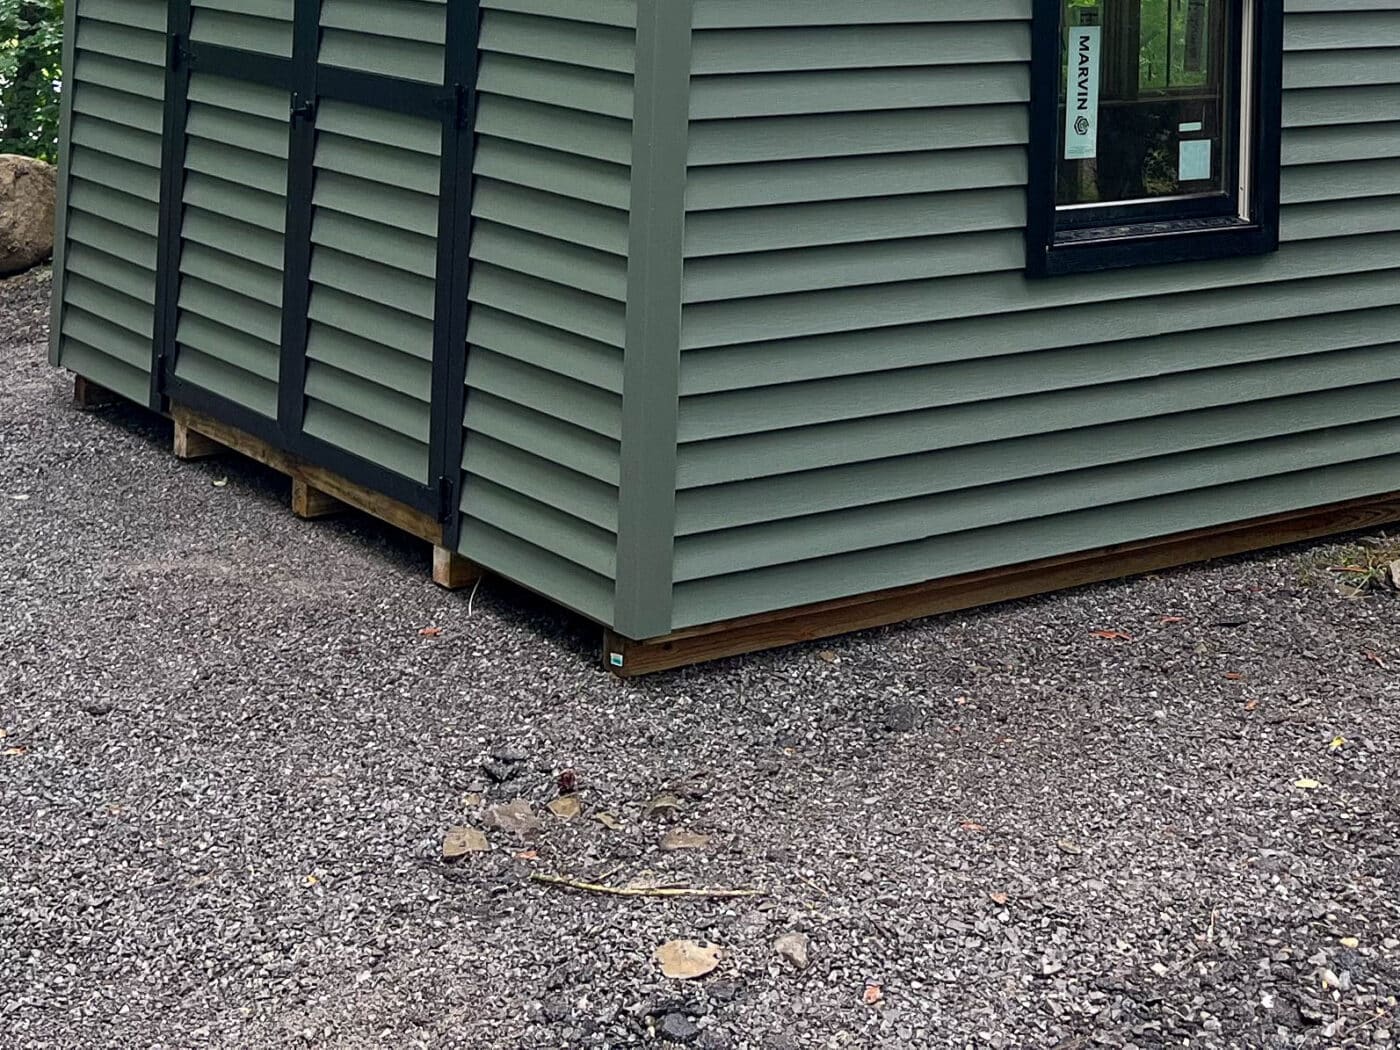
Here’s a simple process for a rock-solid gravel shed base that will stand the test of time:
- Mark the Area – Measure out the base at least a foot wider than your shed on all sides. (ex. The pad for a 10×12 shed should be 12×14)
- Excavate – Dig 4-6 inches deep and level the area. It’s ideal to have the top of the gravel pad close to the same height as the area around it. The further the gravel is above the ground, the higher the step will be going into the shed.
- Lay a Perimeter – Use pressure-treated lumber or pavers to keep the gravel in place. PT 4x4s or 6x6s work well, avoid 2×6 or 2×8 lumber, the outward pressure from the stone tends to bow the 2x lumber too easily.
- Add Gravel in Layers – Use crushed stone and compact each layer before adding more. The best type of gravel for a shed base is 3/4-inch crushed clean stone, sometimes called “washed stone,” or #57 stone (or drainage stone), which compacts well and provides excellent drainage. Use crusher run for gravel. Be aware that clean stone may shift while the shed is being placed on the pad.
- Level It Off – Use a level or straight board to make sure the surface is even before placing your shed. As we mentioned earlier, this is critical!
Consider the location of the door on your shed. The top of the gravel base should be level with the surrounding terrain on the side where the door of the shed will be. It can be built up on the other sides if needed to keep the pad level.
Not sure what size you need? Check out our shed options to see what fits your space best.
Build a Gravel Shed Base That Lasts
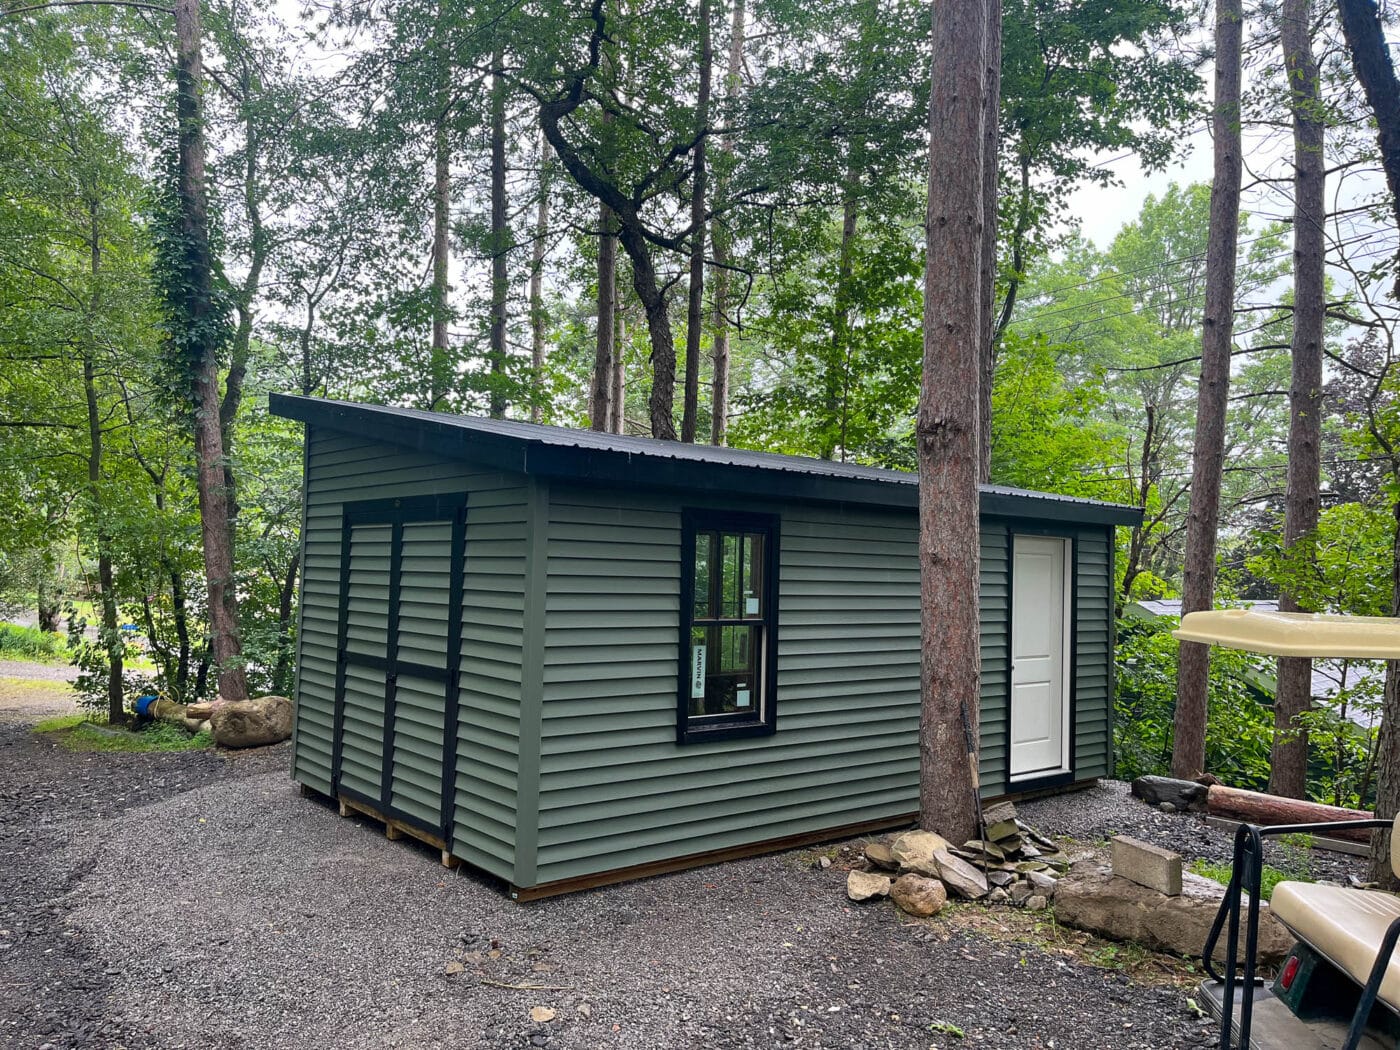
A well-prepared gravel base is a worthy investment in your shed’s longevity. When done correctly, it provides stability, proper drainage, and long-term durability, protecting your shed from shifting and costly moisture damage. By taking the time to prepare it properly from the beginning, you’re ensuring a hassle-free experience down the road. Interested in other kinds of shed bases? Then check out more shed base options!
If you’re ready to get started but need expert guidance, Sheds By Fisher is here to help! If you’re looking for shed foundation tips or professional installation, contact us today to make sure your shed stands strong for years to come!
